
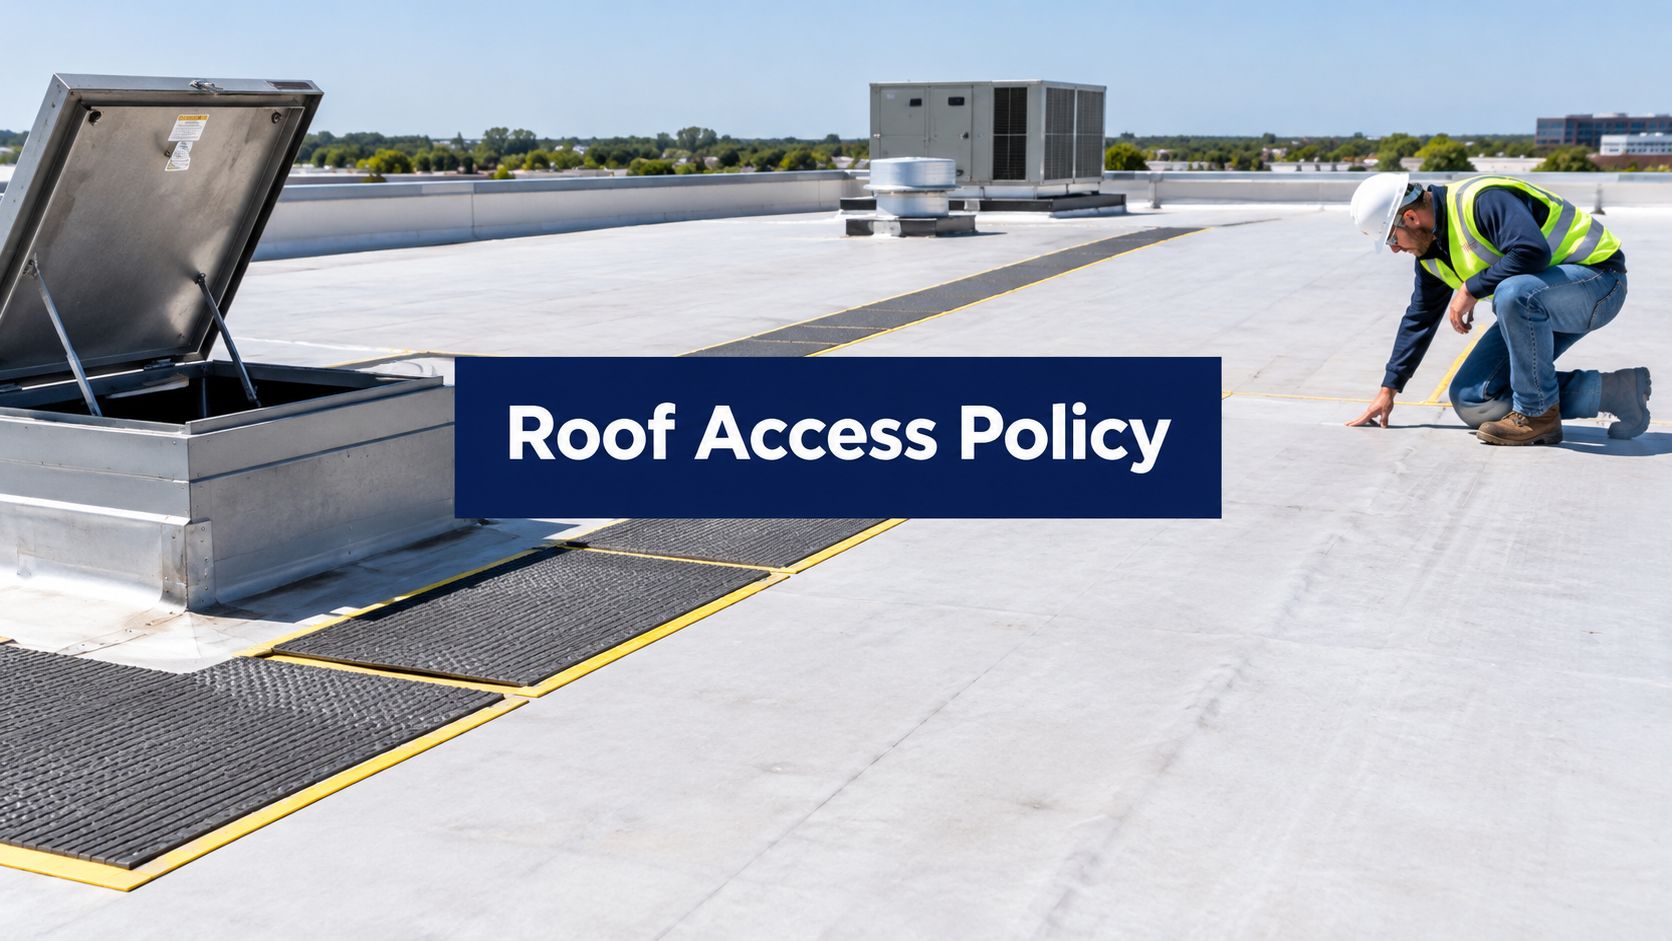
A roof access policy to protect commercial membranes should require authorized entry, marked routes, controlled tools, and documented inspections. OSHA's general-industry framework uses a 4-foot fall-protection threshold for unprotected sides and edges, making safe access and egress part of the baseline for commercial roof work.
A Phoenix facility manager may be dealing with this today: an HVAC crew reaches a rooftop unit, crosses a white TPO membrane, drags a metal ladder, and leaves scratches near a field seam. The leak appears later, after dust and monsoon debris have hidden the damage. Without access records and before-and-after photographs, the building owner has little evidence showing who entered, what route they used, or when the defect occurred.
Why Commercial Roof Access Policies Matter
A membrane roof isn't a hallway, staging platform, or equipment parking area. TPO, foam, coatings, and other low-slope systems can tolerate normal weather exposure when properly installed, but uncontrolled traffic introduces a different set of stresses. Sharp tools can puncture the surface, ladder feet can concentrate loads, and repeated foot traffic can abrade seams and protective coatings.
The policy must address more than worker safety. It should also protect the roof asset and create a clear chain of responsibility among the building owner, tenants, facility staff, roofers, HVAC vendors, telecommunications contractors, and other authorized trades.
Safety rules are only the starting point
OSHA's Walking-Working Surfaces rule requires employers to provide safe access, inspect walking-working surfaces regularly, and correct hazardous conditions before use, establishing a baseline for controlled commercial roof access and documented inspections. The same framework addresses protection through guardrails, safety nets, or personal fall-protection systems, depending on the location and work activity. See the OSHA rooftop safety reference for the underlying requirements.
That safety baseline doesn't automatically preserve a membrane. A vendor can follow a safe ladder procedure and still damage the roof by dragging equipment across it. A useful roof access policy connects fall protection with membrane controls:
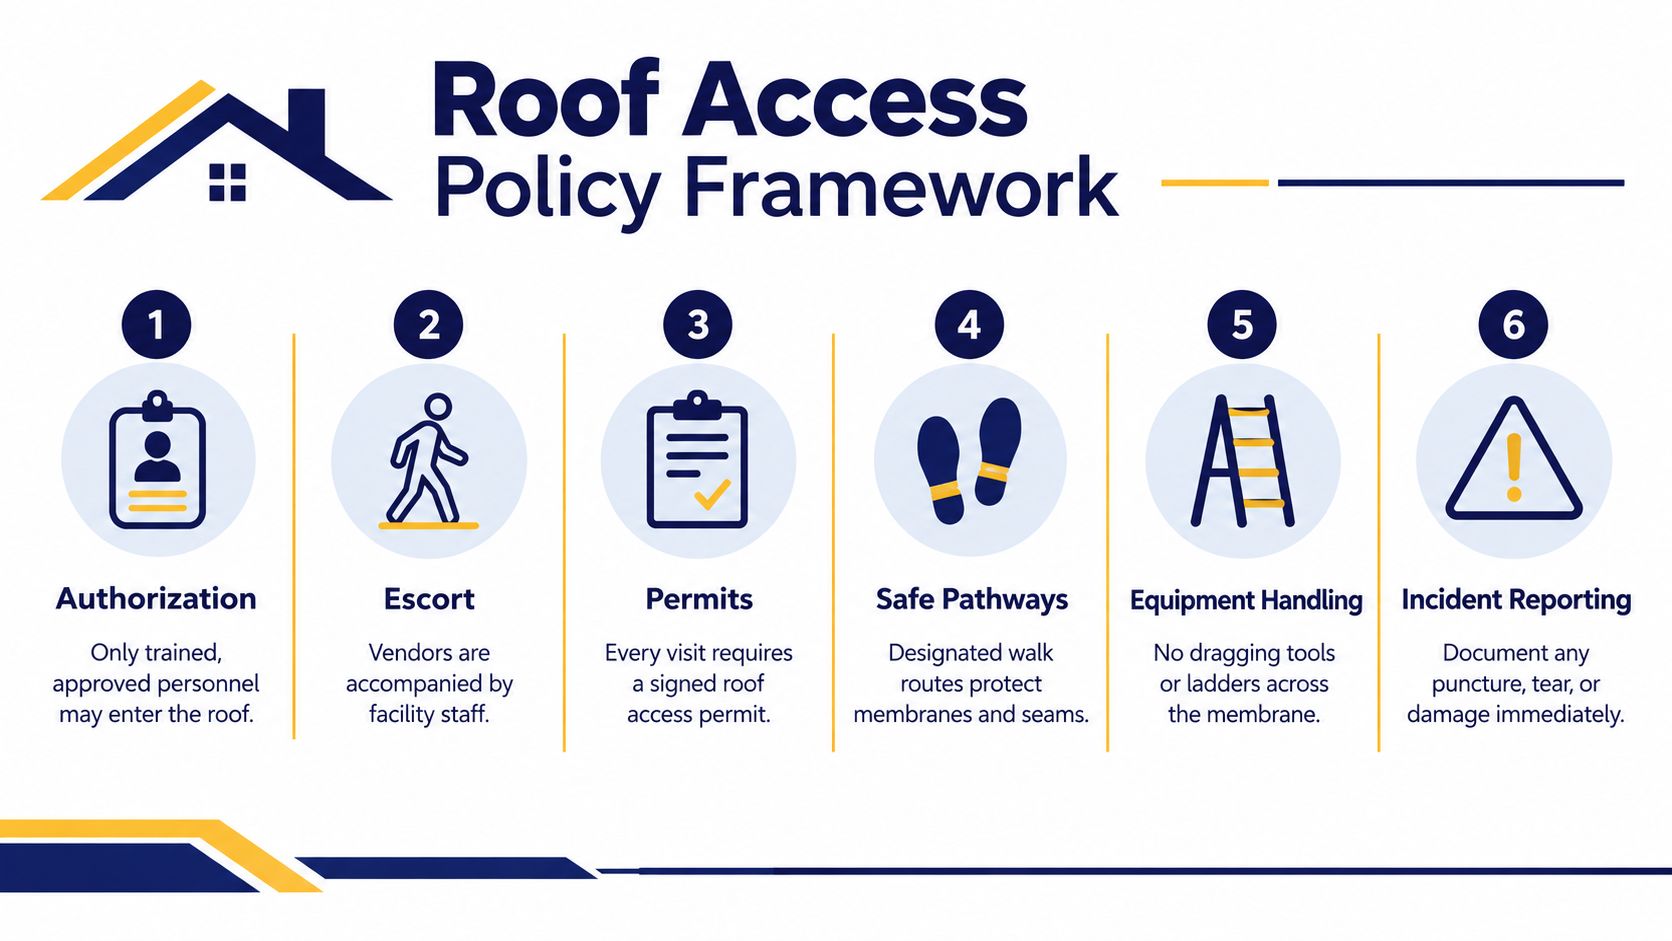
- Authorization: Only approved personnel may enter.
- Routing: Workers use marked paths to HVAC units, drains, hatches, and other service points.
- Equipment handling: Crews carry tools and protect temporary work areas.
- Documentation: Each visit has an entry record, photographs, and closeout confirmation.
- Escalation: Punctures, displaced pads, exposed seams, and blocked drains are reported immediately.
Why liability records matter
A sign-in sheet won't prevent a puncture by itself. It does establish who entered, why the person entered, which roof area was accessed, and whether the condition was documented before work began. That information helps the owner distinguish maintenance damage from storm damage, age-related deterioration, or a pre-existing defect.
For a building owner comparing repair, coating, and replacement options, a consistent history is valuable. It shows whether damage is isolated to a service route or spread across the roof system. A Phoenix or Tucson property manager can use that history when coordinating a commercial roofing contractor and reviewing warranty requirements.
Practical rule: Treat the membrane as a protected building asset, not as a convenient route between rooftop units.
Creating Your One-Page Roof Access Policy
A one-page policy works when a vendor can understand it before stepping through the hatch. It should name the person who approves entry, show the route, list prohibited conduct, and require a closeout record. A longer manual can hold technical details, but the roof-entry sheet needs to be visible and usable.
The following outline can be copied into a facility form and adapted to the roof plan.
Copy-ready policy outline
Roof access authorization
- Property and roof area: ____________________
- Date and planned access window: ____________________
- Vendor and company: ____________________
- Person requesting entry: ____________________
- Facility approver: ____________________
- Work purpose: ____________________
- Approved entry point: ____________________
Only trained and approved personnel may enter. Tenants, occupants, and unapproved vendors may not access the roof. The facility manager should confirm that the work requires roof entry rather than authorizing access as a matter of convenience.
Entry and route controls
- Sign in before entry and sign out after leaving.
- Use the approved hatch, ladder, or service door.
- Follow the marked route from the entry point to the equipment or drain.
- Keep away from field seams, flashings, penetrations, skylights, and ponding areas unless the task specifically requires access.
- Use installed walkway pads or platforms where provided.
A roof-traffic map should identify every hatch, ladder, drain, expansion joint, penetration, rooftop unit, and recurring service destination. Marked travel routes and non-skid pads should concentrate traffic at those areas instead of allowing workers to cross the exposed membrane freely, as outlined in this commercial roof access policy and procedure guide.
Tools, conditions, and closeout fields
Footwear and tools
- Soft-soled, clean footwear required.
- No loose sharp metal objects.
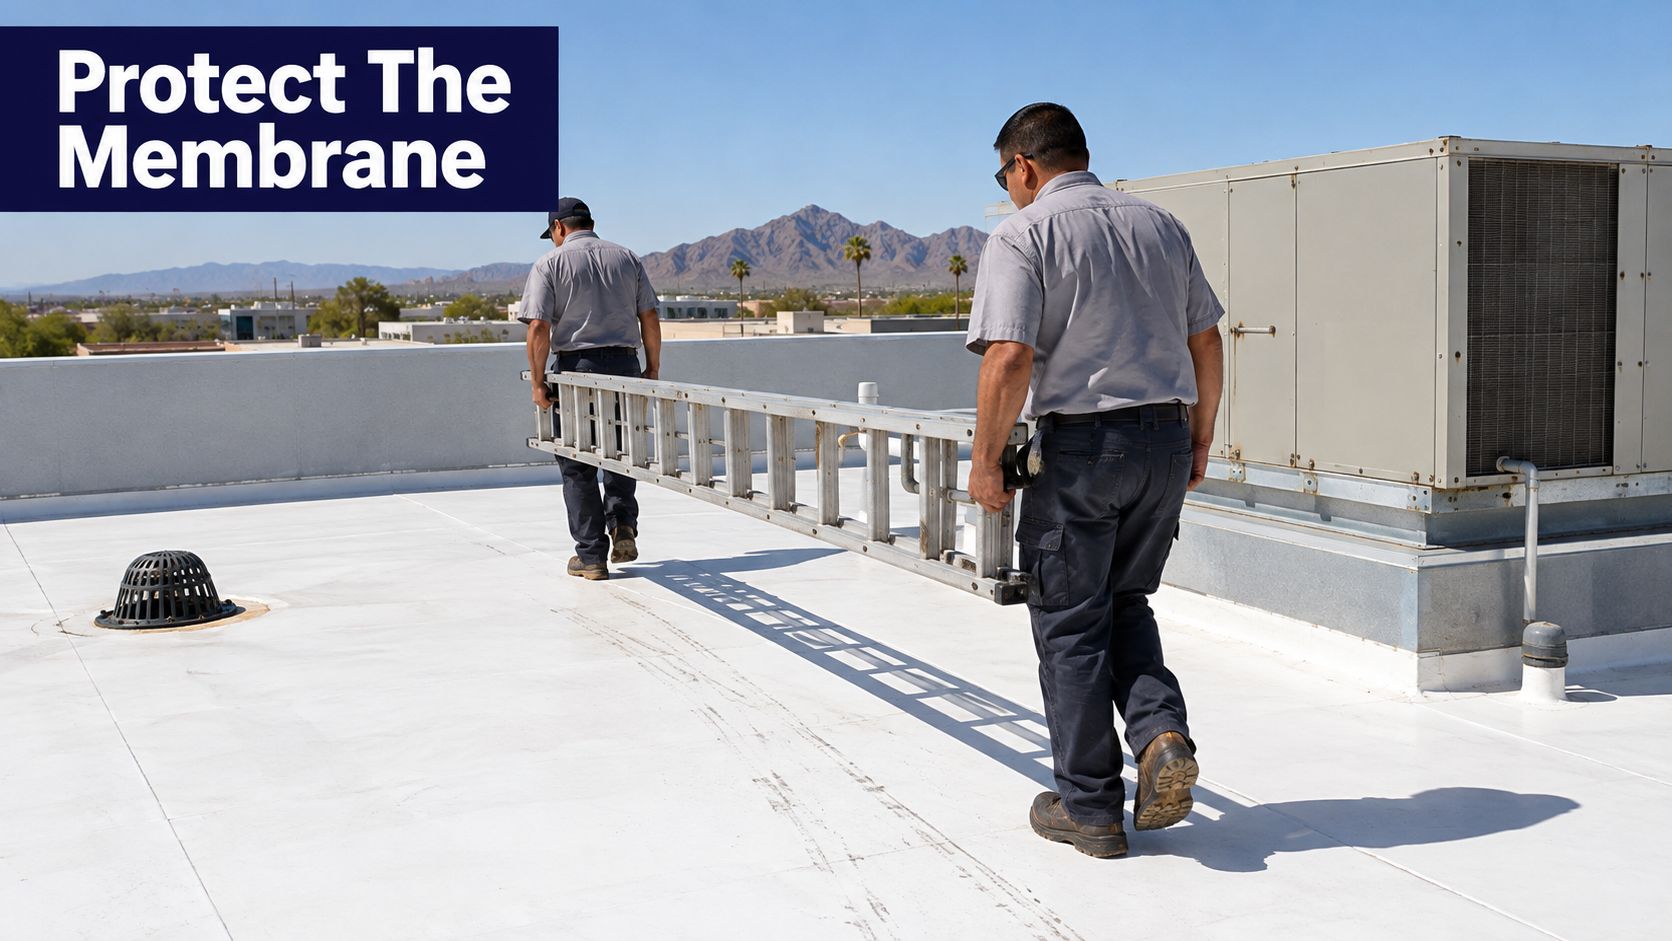
- No dragging ladders, carts, hoses, cases, or equipment.
- Use tool bags, designated carts, lifting methods, or temporary protection.
- Place protective material beneath temporary equipment when approved.
Weather and safety limits
- No entry during active lightning, high winds, or heavy rain.
- Stop work if the route becomes unsafe or the membrane is wet, covered with debris, or otherwise hazardous.
- Follow applicable fall-protection procedures at hatches, ladders, edges, and openings.
Closeout
- Remove debris, fasteners, packaging, and tools.
- Confirm that walkway pads remain in place.
- Check for cuts, punctures, abrasion, disturbed flashing, exposed seams, and blocked drains.
- Photograph the work area.
- Report damage before leaving.
- Sign out with time and roof area entered.
Facility staff can pair this form with practical roofing safety tips for anyone coordinating rooftop work. The document should be posted at the access point and included in vendor work orders.
Installing Physical Protection on the Roof
Written rules fail when the roof has no physical route to follow. A service crew carrying equipment to a rooftop unit will choose the shortest path unless the building provides a safer, clearly marked alternative. Walkway pads, pavers, and approved traffic-protection systems turn a general instruction into a visible operating boundary.
The protection must match the traffic pattern. A hatch used occasionally may need a durable pad at the landing area. A route serving equipment accessed frequently needs a stable assembly that handles repeat loading, drainage, wind, and membrane compatibility.
Match the system to traffic
For high-frequency service routes, one technical benchmark recommends pavers supported by non-abrasive pads or pedestals with at least 12.7 millimeters, or one-half inch, of vertical separation, and approximately 3.78 millimeters, or one-eighth inch, between pavers for airflow, leveling, and drying. The TPO roof systems standard also emphasizes uniform load distribution and protection against wind displacement and membrane abrasion.
Loose mats often look adequate during installation but can curl, shift, trap moisture, or move under repeated traffic. They may work for limited, controlled use when the system manufacturer permits them and the pads remain secure. They aren't a substitute for an engineered route where multiple crews repeatedly access the same equipment.
A suitable protection plan should account for:
- Drainage: Routes must not block drains, scuppers, or positive drainage paths.
- Seams: Pads and supports shouldn't bridge field seams, flashings, or penetrations without an approved detail.
- Heat: A non-bonding slip sheet may be needed where supports could absorb solar heat or abrade the membrane.
- Loading: Supports should spread dead and predicted live loads uniformly.
- Wind: Pads, pavers, and platforms must remain secure during Arizona wind events.
Before permanent pads are installed over field seams or flashings, the membrane manufacturer's warranty inspection or written approval should be obtained. A system that protects workers but violates a roof-system requirement can create a warranty dispute later.
Build routes around maintenance access
Keep sufficient clearance around rooftop equipment, drains, penetrations, and repair zones. Solar arrays, communication equipment, and multiple service trades can obstruct access if pathways aren't reserved during planning.
Property managers purchasing materials should review these walk pad procurement tips before selecting a product. Compatibility, restraint, drainage, edge stability, and the actual traffic pattern matter more than choosing the heaviest available mat.
A Phoenix facility may use a commercial flat roof with TPO, foam, or a coated surface. Each system needs product-specific approval before a walkway or traffic coating is installed. The roof contractor should inspect the finished route for pad adhesion or restraint, curling edges, abrasion, blocked drainage, and membrane deformation after significant service activity.
Arizona-Specific Risks and Weather Protocols
Phoenix and Tucson roofs face long periods of heat, intense sun, dust, and sudden monsoon conditions. Those factors make casual access especially difficult to manage. Dust can hide a small cut, wind can move a loose pad, and storm debris can cover a drain or sharp object before the next vendor arrives.
The National Weather Service's 2026 Arizona monsoon outlook listed expected seasonal precipitation of 2.82 inches for Tucson and 2.76 inches for Phoenix. Those figures are seasonal outlook values, not a prediction for a particular roof, but they reinforce the need to keep drainage paths and roof penetrations visible and accessible. The outlook is documented in the National Weather Service Arizona monsoon review.
Set clear no-access conditions
The policy should suspend roof entry during active lightning, high winds, or heavy rain. Wet surfaces can increase slip exposure, and emergency movement during a storm can lead to dropped tools, displaced protection, or damage that is difficult to document accurately.
After a storm, facility staff should arrange a roof inspection before routine vendors resume access. The inspection should look at:
- Drainage points: Drains and scuppers must remain open.
- Perimeter details: Edge metal, coping, and flashings should be checked for movement or visible damage.
- Equipment supports: Curbs, supports, and mounted components should be reviewed for displacement.
- Membrane areas: Seams, patches, exposed surfaces, and walkway edges should be photographed.
- Debris: Dust, branches, gravel, and sharp fragments should be removed through a safe, authorized process.
The policy should also restrict access when dust, standing water, or debris prevents a reliable inspection of the route. A vendor shouldn't be sent across a roof that facility staff can't reasonably verify as clear.
America Roofing's monsoon inspection guide can help property managers organize weather-related checks. If a leak appears after a storm, access logs and photographs can help separate storm damage from a puncture associated with later maintenance traffic.
Inspection Routines and Contractor Accountability
An informal roof policy depends on memory. A controlled policy depends on records that can be reviewed after a leak, storm, repair, or vendor dispute. The difference is visible in the condition of the roof and in the quality of the decisions that follow.
Every visit should have a sign-in record containing the date, person or company, reason for access, and roof area entered. OSHA guidance also supports maintaining walking-working surfaces free of hazards such as sharp or protruding objects, leaks, and spills. The OSHA walking-working surfaces publication provides the safety context for this documentation practice.
Pre-entry and post-visit checks
A pre-entry check establishes the condition before the vendor begins. It doesn't need to be a lengthy report, but it should capture the route, existing damage, loose debris, drain condition, and visible concerns with photographs.
A post-vendor checklist should include:
- Debris: No fasteners, packaging, wire, metal fragments, or discarded materials remain.
- Punctures: No new cuts, holes, tears, or visible abrasion appear along the route.
- Flashing: Curbs, pipe boots, edge details, and other flashings haven't been disturbed.
- Penetrations: No opening, temporary seal, exposed fastener, or unapproved penetration remains.
- Walkway protection: Pads, pavers, and supports remain aligned, stable, and clear of drains.
- Drainage: Drains, scuppers, and flow paths aren't blocked.
- Photos: The work area and any exception are photographed with a location reference.
- Signoff: The vendor and facility representative record the closeout time and unresolved items.
If a puncture or displaced pad is found, the vendor should stop, notify the facility manager, and preserve the area for inspection. The owner should record the incident, identify the responsible work order, and arrange roof evaluation before applying an unapproved patch or coating.
Compare the records, not just the roof
An enforced policy creates a maintenance history. A facility manager can see whether defects follow HVAC access, storm response, equipment replacement, or another recurring activity. An informal approach leaves the owner with a general statement that “someone was on the roof,” which is weak evidence for warranty, insurance, and repair decisions.
A periodic professional review can identify conditions a vendor may miss, including seam distress, edge curling, abrasion, ponding, or deterioration around penetrations. A certified roof inspection can give the owner a separate assessment when the roof's condition, a leak, or a damage dispute requires more than a routine signoff.
The practical comparison is straightforward:
| Informal access | Controlled access |
|---|---|
| Vendors choose their own routes | Marked routes direct repeat traffic |
| Existing damage is difficult to date | Pre-entry photographs establish condition |
| Tools and ladders may contact the membrane | Equipment handling rules reduce contact |
| Responsibility is unclear after a leak | Logs connect roof areas to work orders |
| Repairs may be delayed or improvised | Incidents receive documented escalation |
A roof access policy to protect commercial membranes doesn't eliminate every risk. It gives the property manager a repeatable way to control traffic, preserve evidence, and decide whether a damaged roof needs localized repair, compatible coating work, or broader commercial reroofing.
America Roofing evaluates commercial roof surfaces, seams, flashings, penetrations, equipment curbs, drains, ponding areas, and prior repairs for Phoenix and Tucson properties. Building owners and facility managers can visit America Roofing, call 602-237-2478, or request a roofing estimate when access-related damage, storm exposure, or recurring leaks require a documented roofing decision.